Vinegar Painted Flower
By Melissa Bennett
Did you know that on the fourth day God created grass, trees, plants, and FLOWERS? He created many different types, and they come in all different colors. Each flower is unique. Even two of the same type of flower will be different.
How would you like to make your own unique flower? Making your own flowers is fun and easy, but it does smell a little bit! Here is what you will need:
Materials:
Vinegar
A paper cup or a small plastic container, such as a plastic cup or clean yogurt
container.
Newspapers, a garbage bag, or an old tablecloth.
Rubber or plastic gloves, to keep from staining your fingers.
White drawing paper, any size. Bigger sizes will make bigger flowers.
A paint brush
Tissue paper, any colors except black (Please see note under number 3, below.)
Scissors
Construction paper, including green
Glue
STEP ONE: Getting Things Ready
The first thing you want to do is get your materials ready.
1. Cover your work area with newspaper, a garbage bag, or an old tablecloth.
2. Pour a small amount of vinegar into your cup or container. Only pour
a small amount at one time so that if it accidentally gets knocked over, it
won’t make such a mess and won’t smell quite as bad.
3. NOTE: This method works with MOST colored tissue paper that you can find in a craft store. However, it does not work on all types. You will want to test your tissue paper first. It will not work on black tissue paper.
4. Cut a small square of your tissue paper and place it on top of a piece of white drawing paper.
5. Dip your brush into the vinegar and then cover the top of your tissue
paper with the vinegar.
6. Pick up the tissue paper. If the color has come off onto your paper
you are ready to begin! If it does not, you will have to get a different
brand of tissue paper.
STEP TWO: Vinegar Painting
1. Put on the plastic or rubber gloves before you begin.
2. Cut several pieces of tissue paper into small squares.
3. Place a square onto a piece of drawing paper and cover it with vinegar. Make sure the square is completely covered in vinegar. Then leave the square there.
4. Take another square and place it on your paper, overlapping the other
one a little bit. Cover it with vinegar.
5. Continue the process until your entire paper is covered with the
squares.
6. Now let it dry. This could take several hours depending on how wet your paper is.
STEP THREE: Creating Flowers
1. After your drawing paper is completely dry, carefully pick it up and tip it on its side. The tissue paper should fall right off. Hint: Do this over a trash can for easy clean up.
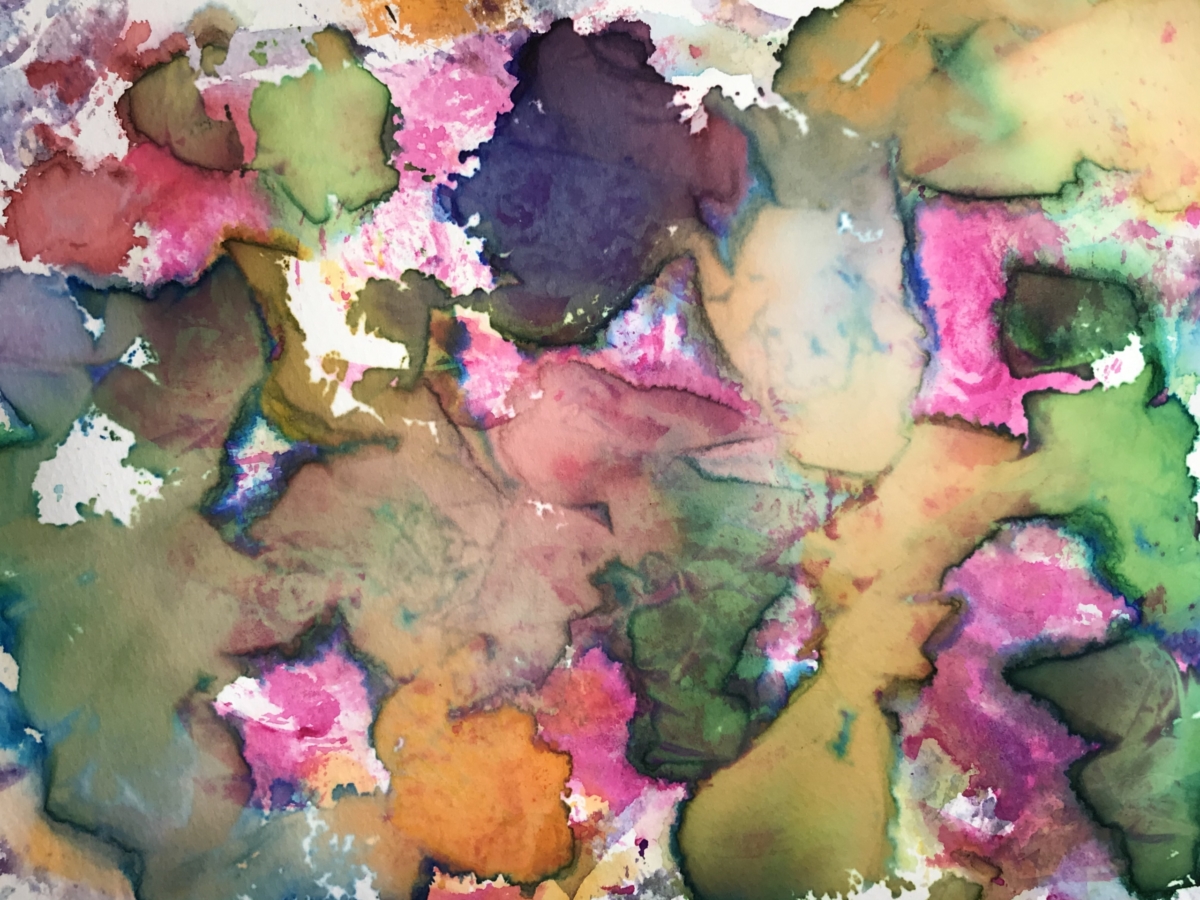
2. Your paper should now be a beautiful collage of colors.
3. Cut your paper into the shape of flower petals. Flower petals come in many shapes, including oval and heart shaped. Look at some flowers for ideas, or use your imagination.
4. Glue your petals onto a piece of white drawing paper or colored construction paper. Cut stems and leaves out of green construction paper (or another color if you want to be really creative) and glue them on.
Congratulations! You have now made your own unique flower!
OTHER IDEAS:
Here are some ideas for other ways you could do this project:
1. Create butterflies instead of flowers.
2. Cut your tissue paper into circles, triangles, or other shapes.
3. Cut your tissue paper into different sizes.
4. Try this method using different colored paper.
© Melissa Bennett
Melissa Bennett is a former art teacher. She is now a stay-at-home mom who lives in Pennsylvania.
Note: Photo above is the result of wet tissue paper drying on watercolor paper.